Cover Dated Popcorn Ceilings With This Gorgeous DIY Design To Upgrade Any Room
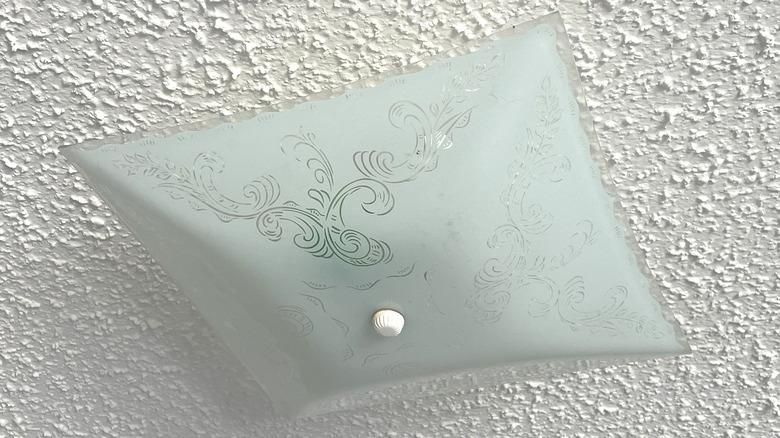
If you've watched any HGTV, I know you've heard on countless occasions a potential home buyer or flipper complain about outdated popcorn ceilings. These textured ceilings were incredibly popular through much of the second half of the twentieth century for their cost-effectiveness, acoustic damping qualities, and ability to hide imperfections. However, these once ubiquitous stippled ceilings with an appearance like crushed popcorn (thus the name) or cottage cheese fell majorly out of favor around the turn of the 21st century, both aesthetically and because of safety concerns regarding asbestos. Now they've become the poster child for an undesirable outdated home feature.
Having your popcorn ceilings professionally removed costs about $6 per square foot, though this can increase significantly based on ceiling height or location, damage, and/or any required asbestos remediation, nor does it take into account the cost to refinish the ceiling from there. Even if the price was seemingly tolerable or you had the gumption to DIY it, the horrible mess of dust and debris is enough to make most run for the hills. One of the questions I'm often asked as an interior designer is what to do about popcorn ceilings, especially from those who have no interest in or ability to remove them?
The answer: Cover them up with something you do want to see, such as the gorgeous shiplap ceiling as shared by Angela (@angelamariemade) on TikTok. By simply applying the shiplap to the existing ceiling with adhesive and pin nails, then finishing with molding and paint, the ceiling went from outdated to chic in an afternoon. While a shiplap detail may be most appropriate for a farmhouse, cottage, or historical home, I have a couple alternative materials that are a perfect fit for a more modern or contemporary space as well, so stay tuned!
Apply shiplap boards directly over a popcorn ceiling for an elevated, attractive design detail
Shiplap is a wood paneling with an L-shaped notch used to slightly overlap with the adjacent piece, which creates a thin gap between planks when installed. While this type of plank was typically used for siding, it skyrocketed to popularity for interior wall applications, especially in modern farmhouse interiors made so mainstream by Joanna Gaines on HGTV's Fixer Upper in the late 2010s. Now everyone has seen the shiplap accent wall trend come and pass. However, the unexpected use of shiplap as an architectural ceiling detail as shown on TikTok is a great way to bring texture, charming character, and visual interest to the often ignored fifth wall. It's also the perfect way to cover unwanted popcorn ceilings, so win-win! Let's dive into the fairly simple process.
Begin by applying a generous amount of construction adhesive to the back of the first shiplap plank and adhere it to one edge of the ceiling, further securing it with brad or pin nails from a power nail gun into the ceiling joists. For the next plank, overlap the L-shaped notch from the previous panel, leaving a small ⅛-inch gap between planks, securing it in the same way as the first. Mark and make any cuts for things like light fixtures, air returns, etc., before the affected plank is adhered. Once you've covered the entire surface, finish the edges with a crown or flat molding. Caulk any pin nail holes and paint the shiplap ceiling and molding in the same color for a refined finished look. It's worth noting that this technique will work best for rooms where you are able to run a single piece of shiplap in one direction to avoid seams.
Cover popcorn ceilings with fluted pole wrap or slatted wood acoustic panels for a more contemporary effect
While the TikTok ceiling might work beautifully in a quaint historic or farmhouse style property, there are plenty of alternate materials for covering a popcorn ceiling while still meshing with your home's contemporary aesthetic. A modern look I adore for adding texture, warmth, and wow-factor is to cover a ceiling with fluted pole wrap, such as in this TikTok shared by @eyeinthedetail. These flexible natural wood panels come in sheets up to 4-foot by 8-foot and were originally developed as a wraparound solution to disguise ugly basement support poles. However, when used on a flat surface, the fluting effect is beautiful, textural, and contemporary.
To install the pole wrap, select a sheet size that can cover the entire span of one side of the room to avoid cross seams between panels. Similar to shiplap, add construction adhesive to the back of each panel, stick it to the ceiling, and secure it with small pin nails. Install subsequent panels directly next to the previous one, making any required cuts with a utility knife. Finish the edges with molding that's painted to match the walls so it disappears and lets your beautiful wood ceiling shine. An alternative material for an upscale contemporary vibe is to showcase slatted wood acoustic panels on the ceiling. With excellent soundproofing and similarly easy install, these panels have wood slats mounted on a black felt panel with a visible gap between strips for the ultimate architectural detail.
And there you have it, applying a wood paneling detail like shiplap, pole wrap, or acoustic slat panels to a ceiling is the perfect way to hide an ugly popcorn ceiling in a gorgeous way without the hassle or expense of removal.
