Tips And Tricks For The Perfect Caulk Job Every Time
We may receive a commission on purchases made from links.
One of the best things you can learn to do as a homeowner is how to caulk properly. There are multiple places around your home where caulk is necessary, and being educated as to what type you need and how to apply it properly can save you from having to hire out for what could be a relatively simple fix. On the other hand, if you are a dedicated DIYer that tends to dive in with the intent to figure it out as you go along, this is one area where you don't want to wing it, as caulking improperly can not just look messy, but it can cause even bigger and more expensive problems down the line. Plus doing it right the first time is easier than going back to fix messy caulking.
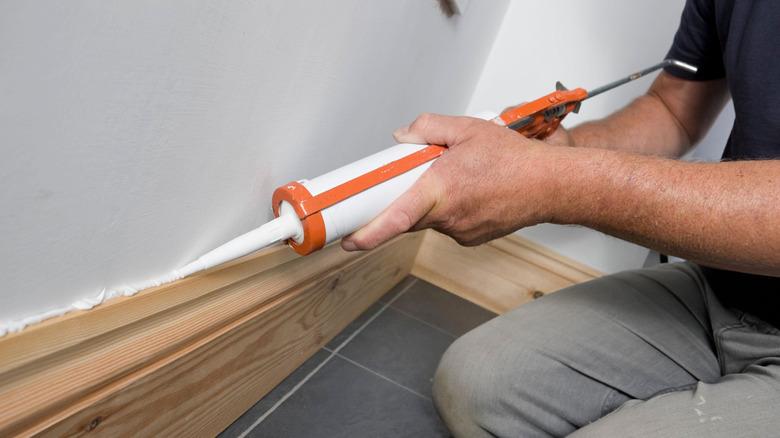
To get advice on everything you need to know to caulk, Hunker reached out to Brett Labeka, virtual handyperson expert at Frontdoor for an exclusive interview. Though caulking is relatively straightforward, Labeka has some top tips to help you get the best results every time. "Prep is everything," he said. He recommended removing old caulking, cleaning the surface, allowing it to dry completely, and then using tape in order to get super clean, razor-sharp lines. He also mentioned that cutting the nozzle correctly is imperative, and for best results you will want to cut at a 45-degree angle. And another tip? Don't dawdle. Labeka says that in order to get a seamless look, you will want to smooth it down within five minutes of application.
Not all caulk jobs are the same — so here's how to get them all right the first time
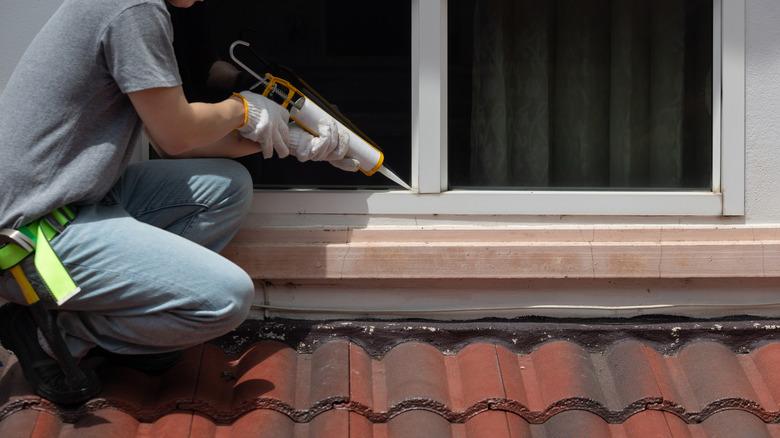
The purpose of most caulking jobs is to seal out moisture, but depending on where you are caulking you will want to choose the right caulk for the job. "If you are working with bathrooms or kitchens, you'll want a caulk that's mold and mildew resistant," Labeka told Hunker exclusively. "If you're caulking windows or doors, you'll want a caulk that's flexible and can handle expansion and contraction due to temperature changes. For exterior jobs, a weather-resistant caulk is a must to handle rain and sunlight."
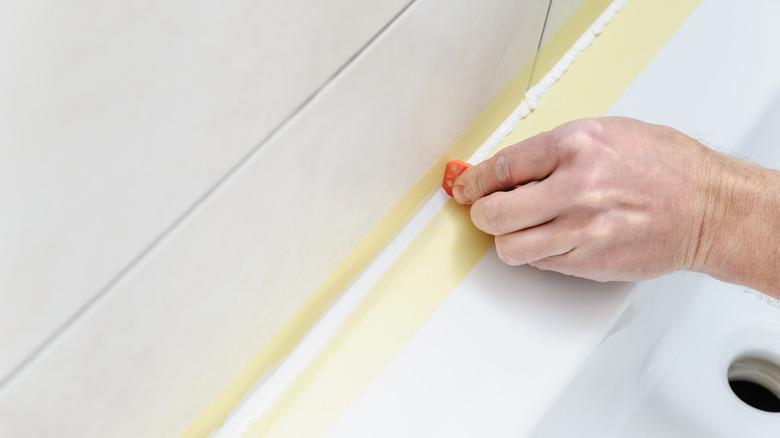
He also noted that when caulking windows it is especially important that the surface be dry as any moisture behind the caulk could cause the application to fail or even trap water in the wall, which can lead to mold and mildew. When it comes to countertops, you will want to be even more cautious and use a 100% silicone waterproof and mold-resistant caulk that is specifically made for kitchens and baths. He also suggests prep work, "Clean the surfaces by rubbing alcohol to remove grease and soap scum. Let it cure fully for 24+ hours before letting water touch it." If you are painting trim later, Labeka recommends using acrylic latex or siliconized acrylic. Though you can buy per project, he recommends keeping these on hand; Painter's Caulk- Acrylic Latex Caulk, Silicone Caulk, Siliconized Acrylic Caulk, Window & Door Sealant, Roof & Flashing Sealant and Polyurethane Sealant. If you're not sure how to differentiate, here's the difference between caulk and sealant.
The best caulking gun - according to the expert
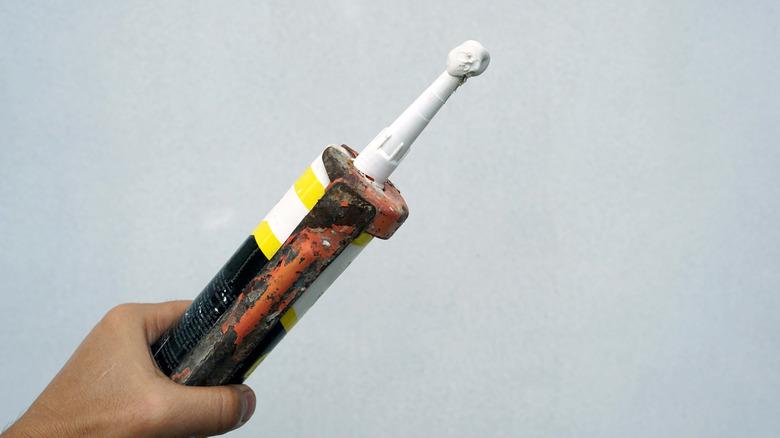
When it comes to choosing your caulking gun, you may be wondering if it's worth it to buy an expensive caulking gun — but just because you may not have a top-model doesn't mean that you can't still get good results. A clean and effective caulking job comes down to tips and technique more so than the gun that you use.
That said, Labeka did tell Hunker in an exclusive interview that he has a favorite. "My recommended caulking gun would be the ETS2000 Ergo Composite Dripless Caulk Gun," he said. He went on to explain that he has been using the tool for over 20 years, and it is still going strong. His favorite features were no loss of product, a padded ergonomic grip, and a trigger that keeps your wrist and fingers in a natural, balanced position to maneuver the tool comfortably — a combination that aids in making a good caulk job faster and easier. Plus it's not hard to find — the ETS2000 Caulk Gun is currently available in a pack of two for just $35.
How to get smooth lines and seamless edges
So now you know what type of caulk you need, and the best tools to help you along with the job. The rest of the technique is up to you. Luckily however Labeka exclusively told Hunker that there are some simple tricks to getting the perfect caulk job every time — even if you are a beginner. First, he recommends cutting the nozzle tip at a 45-degree angle — this is intended to be as close to the size of the gap as possible. You will then want to apply steady pressure and be sure not to over-squeeze — this will help you to get the line even and well distributed. Another tip you may not know? Labeka says rather than pushing the gun away from you, you want to pull it towards you — this helps to smooth it as you go and gives you more control.
When it comes to getting professional-looking edges, Labeka says it's time to break out the tape. "Use painter's tape for super-crisp edges. Run your caulk bead, then smooth it with a damp finger or tool. Remove your tape immediately while the caulk is still wet." There are also a ton of tips and tricks to remove excess caulk — even after it dries.